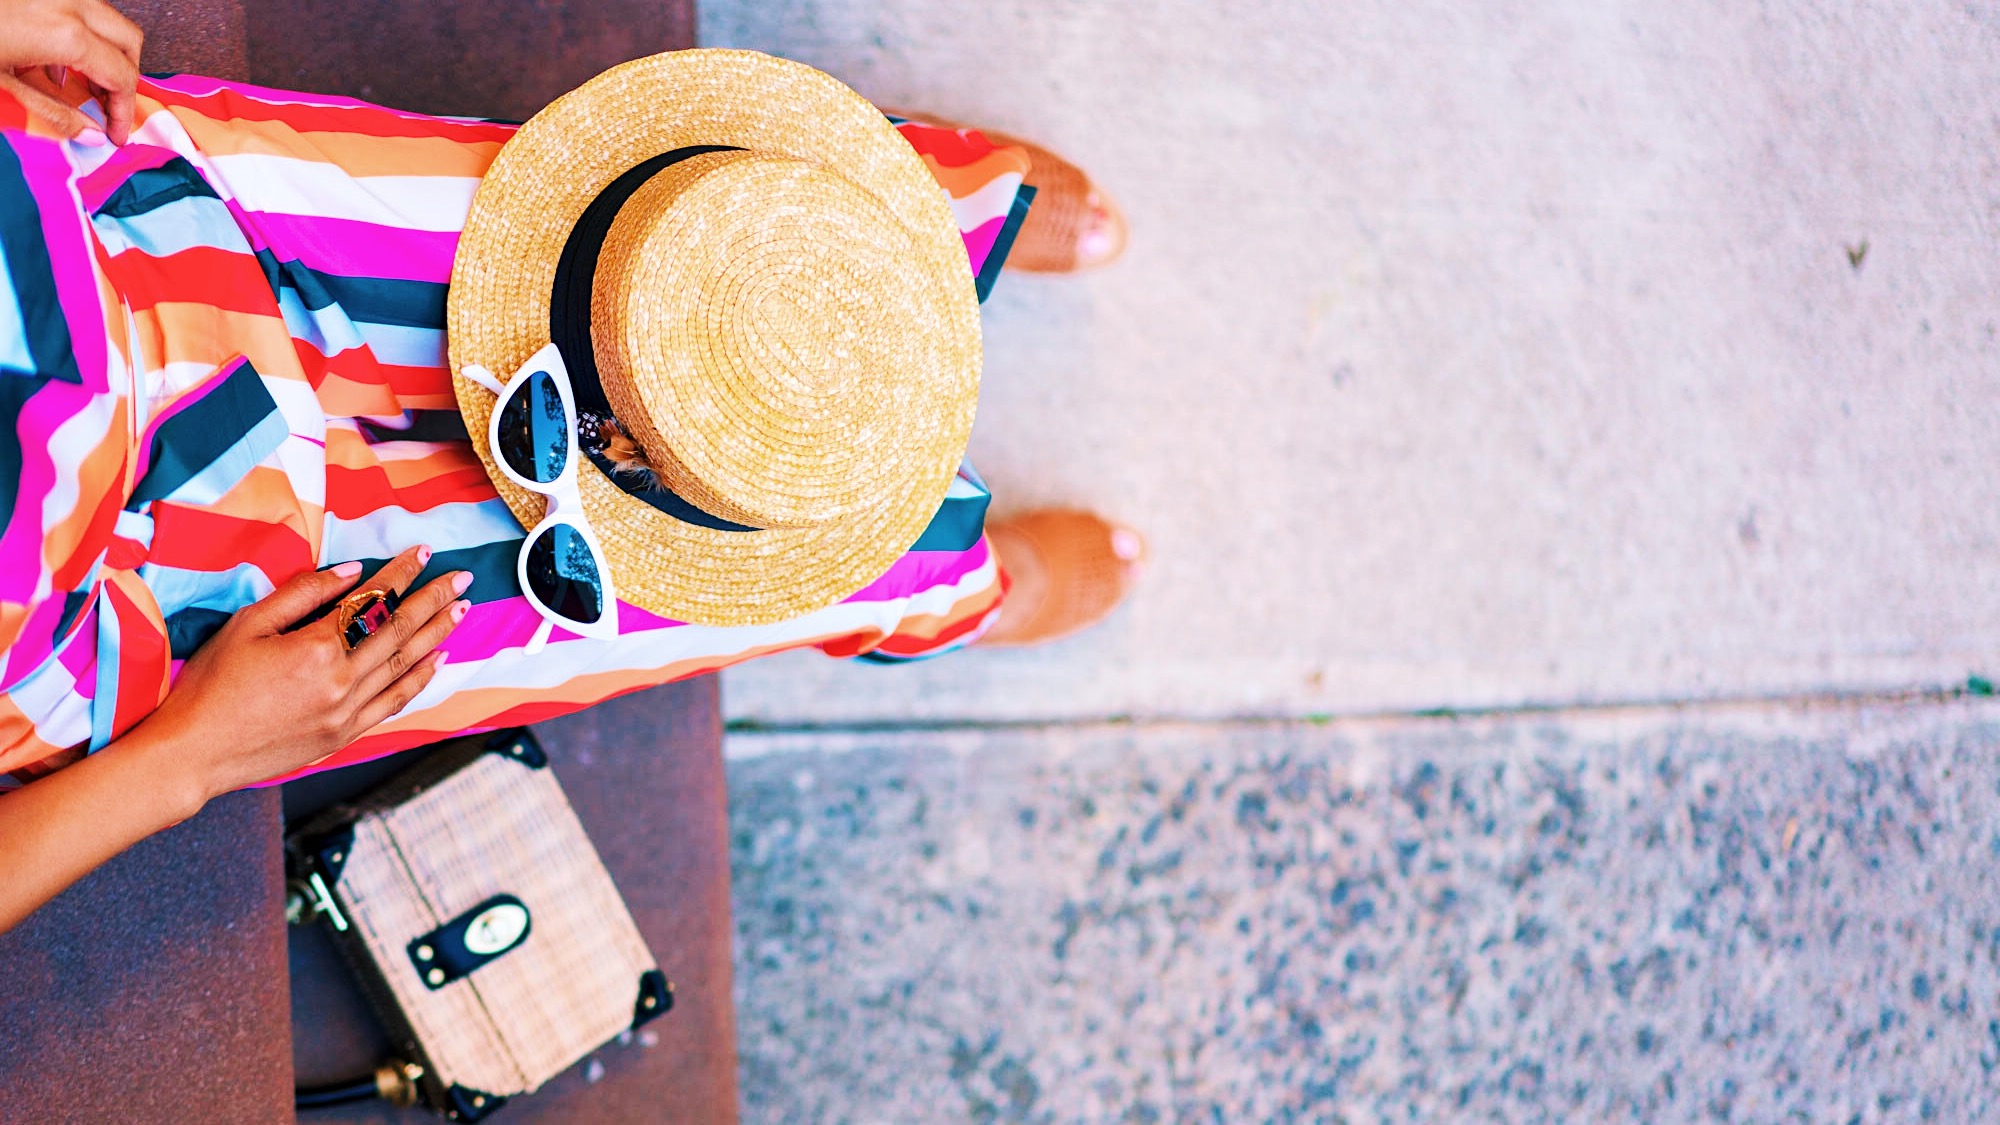
I don’t know about you, but my summer has been nonstop! By the time I look up, it’s already August. Can you believe how quickly summer flew by? It’s crazy! I’m trying to get my closet ready for fall, so I’m willing to organize and pack some summer items away.
While I was storing my summer hats, I saw a few hats had gotten stained – loose dirt on the brim, but the big problem was a makeup stain on the sweatband. so I did research on how to clean straw hats and dig deeper into hat care in all perspectives, so that you can find crucial informations in one place. Here are Do’s and Don’ts to clean your straw hats (This post is dedicated to straw hats or straw-material alike hats only because not all hats can be cleaned in the same way):
- Do Before you clean your hats always check the hat label – sometimes high quality/designer hats give certain cleaning instructions that you need to properly follow if you wish to not permanently damage your favorite hats.
- Do Use a soft bristled brush to clean loose dirt and you want to brush the hat gently in a counterclockwise motion to go with the grain of the hat. If there is still dirt leftover, begin by using a clean, damp, white cloth or eraser sponge to wipe the strain away. Be sure that the cloth is not too wet and avoid a colored cloth as it could transfer the colored pigment to the straw fibers.
- Do Create a gentle cleaning solution by mixing 1 teaspoon of mild detergent or clear dish soap into a cup of cold water. To clean the sweatband, insert a clean dry paper towel behind the sweatband. This way the fibers of straw hats don’t get ruined during the cleaning process. Dip a clean, white cloth into the solution (make sure it’s not too soaky), after that carefully apply a small amount to the makeup stained area. Dab at the stain to lift. Do not rub, as the strain might set or pressure can damage the material. after satisfied with the cleaning, take another clean cloth, dip into cold clean water and dab in the area of the sweatband again so this way it helps getting out of all soapy water. Blot the wet area with another clean, dry cloth to absorb as much moisture as possible, then flip up the sweatband and let the hat air dry fully.
- Don’t wait to treat a strain. The longer you wait to clean your hats, the more difficult it becomes to remove. try your best to keep your straw sun hats clean after wearing – if you want to add years to the life of your hats.
- Don’t apply any chemicals, as they can damage your hats for good. Unless the chemicals appeal on the hat label as specific cleaner or they are recommended by hat makers/stores.
- Don’t use a hairdryer or any other type of heat to dry your hats. This can dry out the straw (or melt a synthetic straw) and cause it to become brittle and break. Let your hats dry naturally.
- Don’t pinch or press so hard on your hats as this can cause your hats to become misshapen or crack. Always remember to handle the hats by the brim as often as possible. It’s ok to grab your hats by the crown, but just be conscious and avoid not doing it to keep your hats look sharp like when you bought them from the very first day.
- Don’t store your hats in a car, in a window or direct sunlight and in the bathroom. Always keep straw hats in a cool and dry place.
- Last but not least…Don’t be afraid to steam straw hats! Yes, you read it right! There are two cases to follow this instruction; 1) your hats feel stiff and you hear a cracking sound when you squeeze or wear them – that means your straw is dry and calling out for moisture. 2) you smell unpleasant odor from your hats. To remedy these situations, you either can hang your hat or place it on the counter on its crown, in the bathroom, while you shower (it requires hot shower in this case). While the steam fills the bathroom, your hat will absorb the moisture and become durable and flexible again. Or if hot shower is not your thing…there is another way to steam your hats too. Are you a tea lover? While you turn on your teakettle and create some steam, carefully hold your hat about 6″- 8″above the spout – don’t place the straw too close because you can harm yourself or damage your hat. Then rest your hat on the crown and let it air dry before you’re going to wear or store it.
I hope you learn some hat cleaning tips that you can apply to your favorite straw hats. Now your hats will thank you for keeping them looking good like brand new again!
Once you’ve had a chance to try some of Do’s and Don’ts hacks for straw hat cleaning and I would love to hear from you. share your thoughts below.


Hi! Congratulations for your blog. I love it and this post is really useful. Keep it up with the great job!
Thanks so much Alessandra for reading my blog post and left me these encouraging words. I know I still have much more to learn but I enjoy so much my first step as a newbie blogger. If you have any specific interests around hats/headwear topics or questions, feel free to ask. I’d be very happy to do my best to find what you’re looking for :)))